If you think a press-up is boring, think again. Ollie McCarthy explains why the humble press-up should be part of everyone’s training regime
PICS: Fiona Chandler-Noize
Thanks to Halo Gym
The press-up is a fundamental movement you need to have in your training arsenal. Not only is it an incredibly versatile exercise but it also requires no equipment. Not only that, but it can be regressed or progressed depending on your ability – without the need to add or remove any weight.
If you want to improve your press-up, I will outline five variations to take you from a complete press up beginner to press up master.
1 Straight arm plank
The straight arm plank is our starting point to improve your press-up. Put your hands shoulder width apart and straighten your arms. Squeeze your legs together. You want there to be a straight line from head through shoulders, hips all the way to your ankles.
This will build the straight-arm strength and endurance to move into our regressed press-up. It will condition the shoulders, core and ability to hold the top position. Start by getting to a one-minute hold without breaking before moving onto the raised press-up.
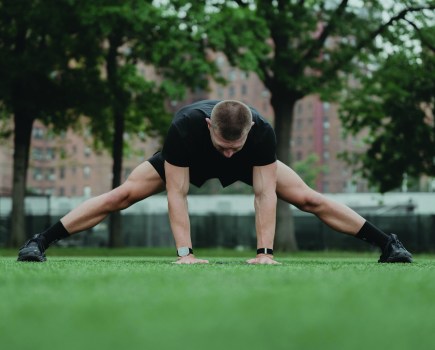
2 Raised press-up
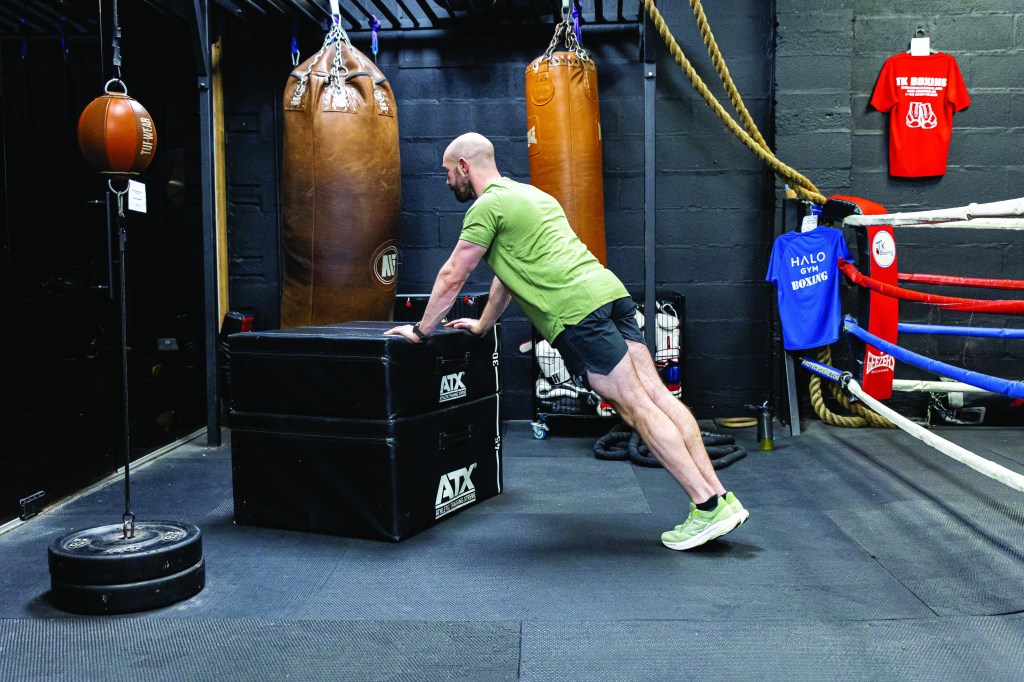
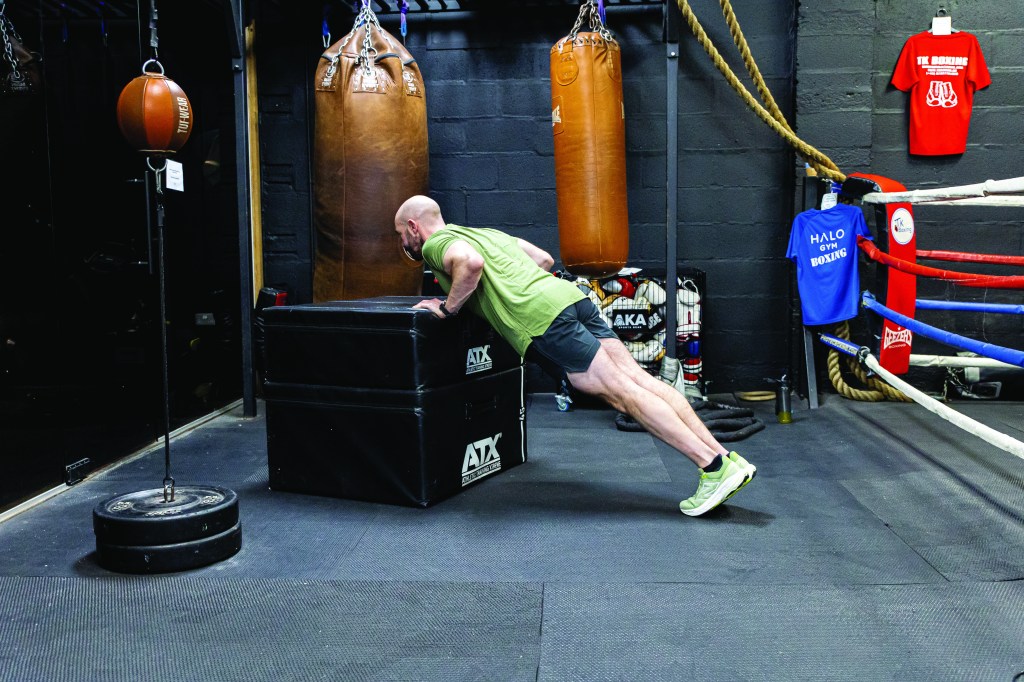
Put your hands on a raised surface around shoulder width apart. The higher the surface the easier it will be. Lower your chest to the surface under control allowing your elbows to move backwards. When your chest touches the surface, press back up to your starting position.
This variation will build the strength and endurance through the full range of the movement. It will also work on maintaining full body tension throughout. To progress, slowly lower the height of the surface you are pressing on to.
Build to 3 sets of 12 reps before lowering the height.
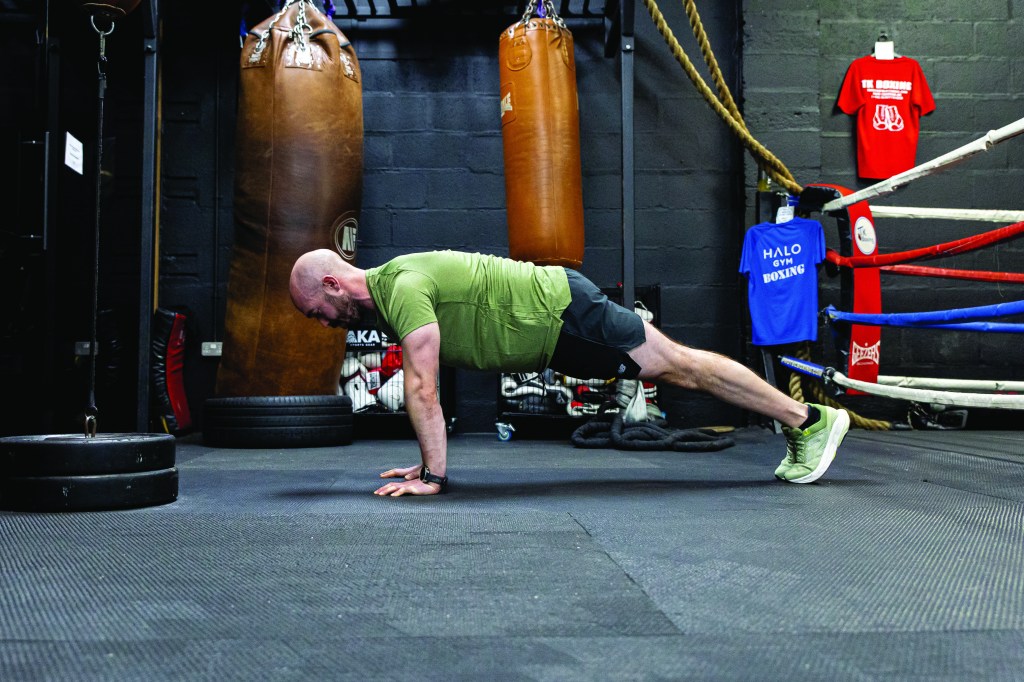
3 The standard press-up

Start in a straight arm plank position. Lower your chest to touch the floor under control. Press back up to your starting position.
To get the most out of your press-up, make sure you are doing the following:
• control the movement – don’t fall down and bounce out of the bottom
• lower your chest all the way to the floor. This standardises the movement, so every rep is the same.
• don’t flare your elbow out. Either keep them close to your side or at a slight angle. This puts your shoulder in a stronger position and allows you to keep tension.
• Keep your hips up – don’t let them sag as you press.
Try to get to multiple sets of 12-15 before progressing to the ‘hands elevated’ version.
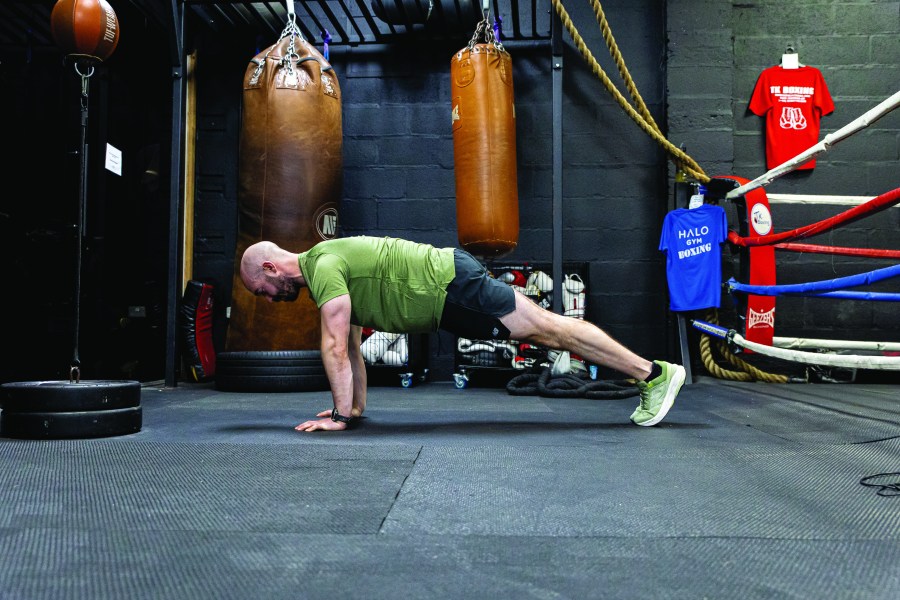
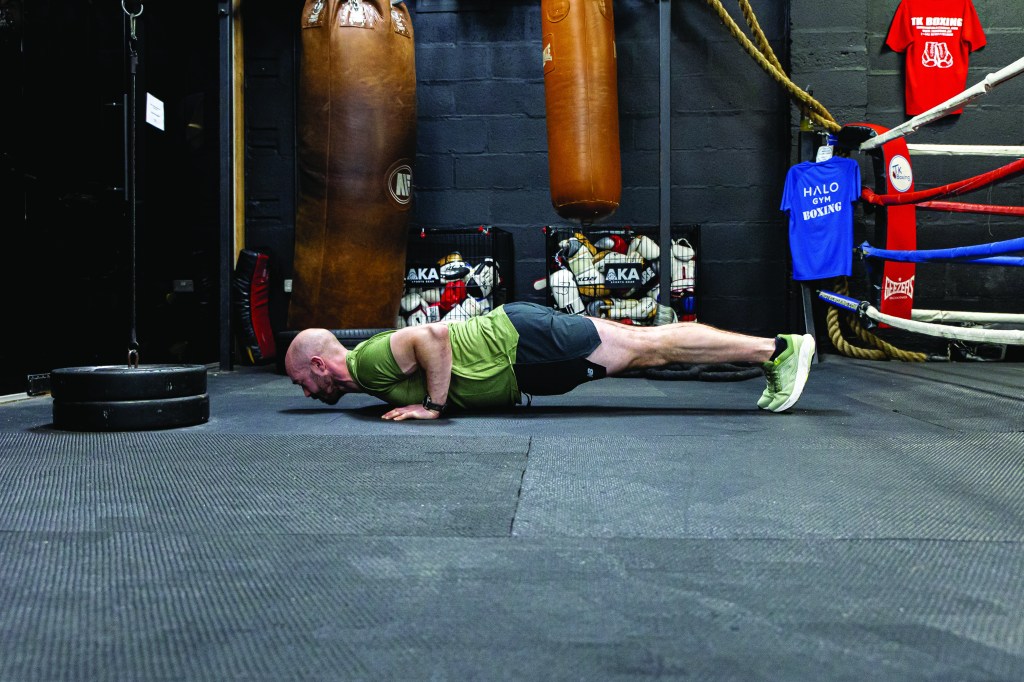
4 The hands elevated press-up

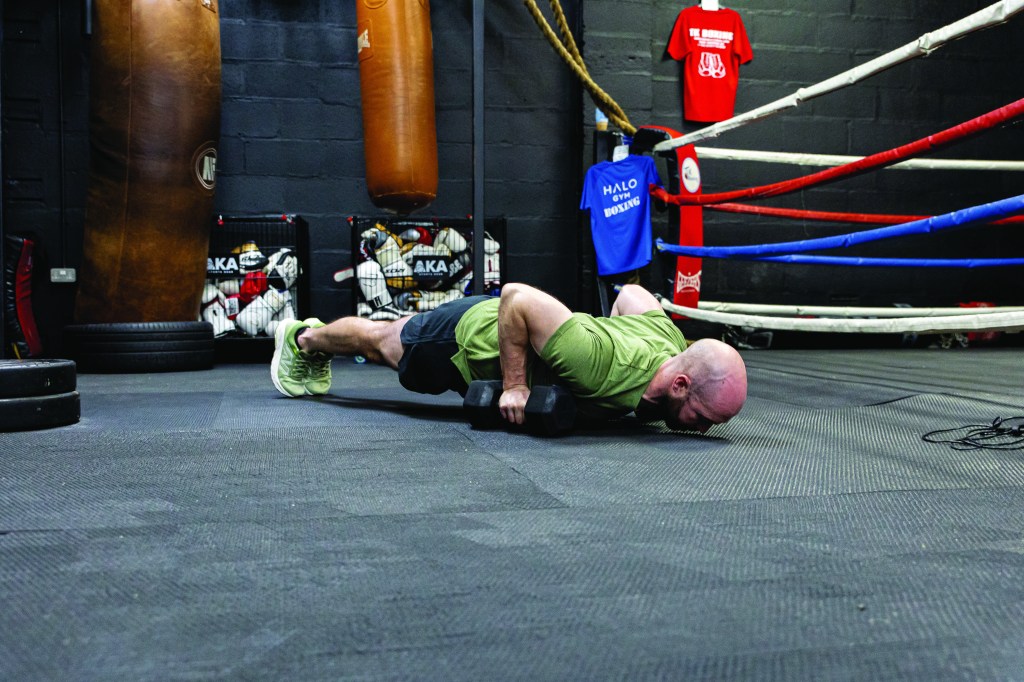
Raise the height of your hands using a yoga block or a pair of dumbbells. Still aim to touch your chest to the floor. This allows a greater range of motion which, in turn, will increase the difficulty of the movement. It will allow a greater stretch at the bottom of the movement which you can control by the height of the implement you place your hands on. The higher your hands, the harder the movement, the more you improve your press-up.
Try to get to multiple sets of 12-15 before progressing to the gymnastic ring version.
5. The gymnastic ring press-up
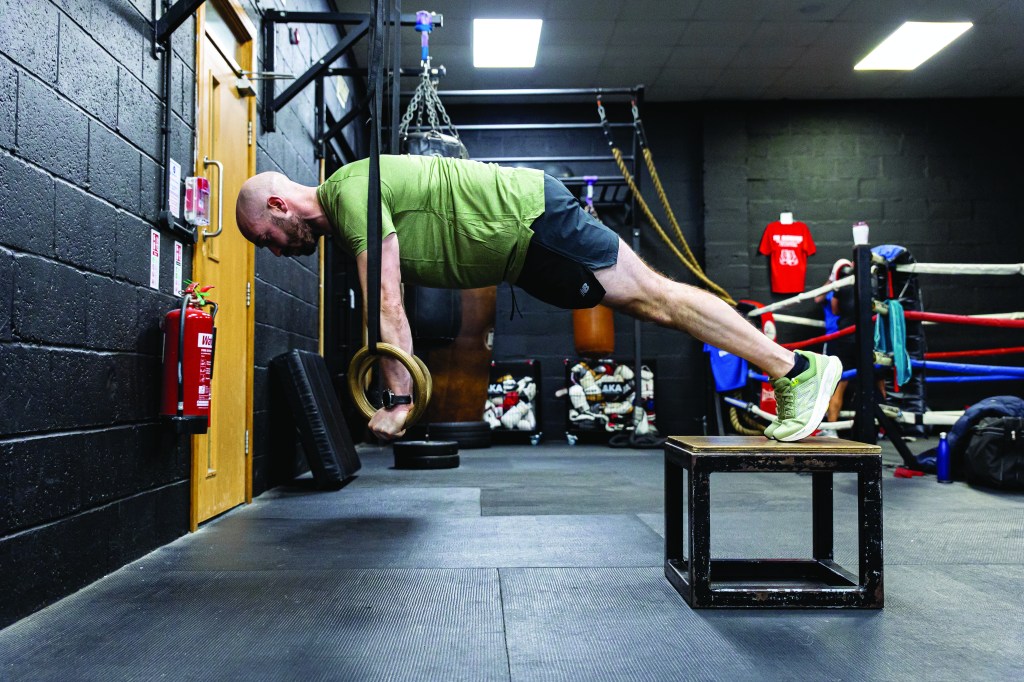
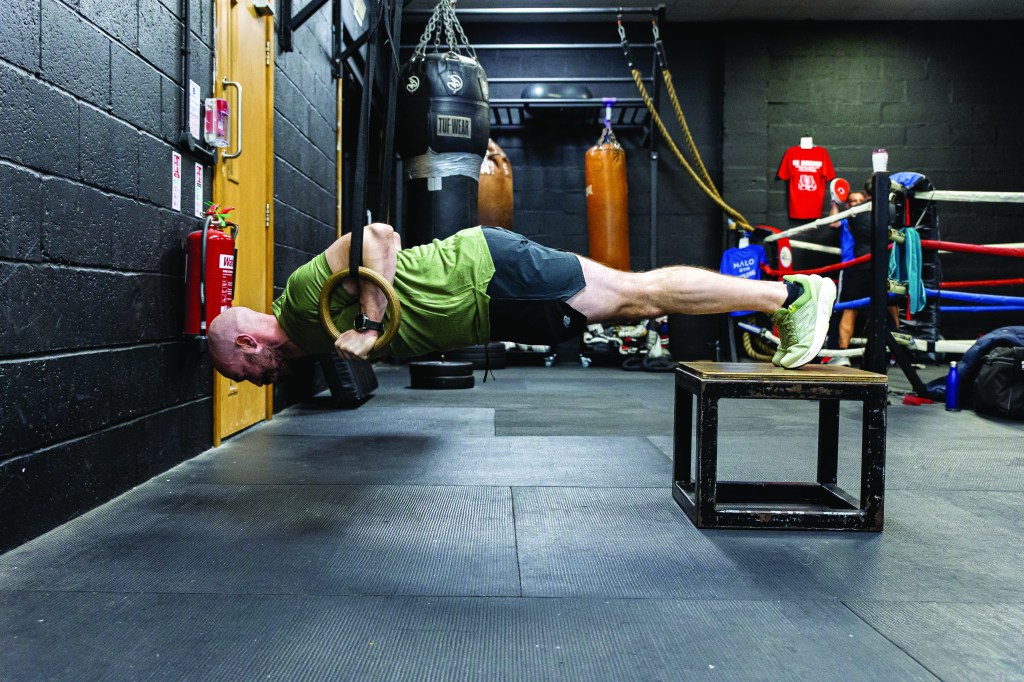
This further builds on our ‘hands elevated’ press-up by adding an element of instability into the move. Start with your hands on the rings and raise your legs up on to a box so that your hips are the same height as your shoulders at the bottom of the movement. Lower under control (as low as you can) and keep tension. Then press back up. The instability of the movement will mean you have to recruit more muscle and use your stabilising muscles too, making it a challenging but effective movement to build strength and endurance.
About the author
Ollie McCarthy is a running and strength & conditioning coach. His personal training programme – The McCarthy Method – helps people improve their fitness, strength, and conditioning. The method is based on a holistic approach to health and wellbeing, and includes mobility, strength, and conditioning work, as well as nutrition advice.