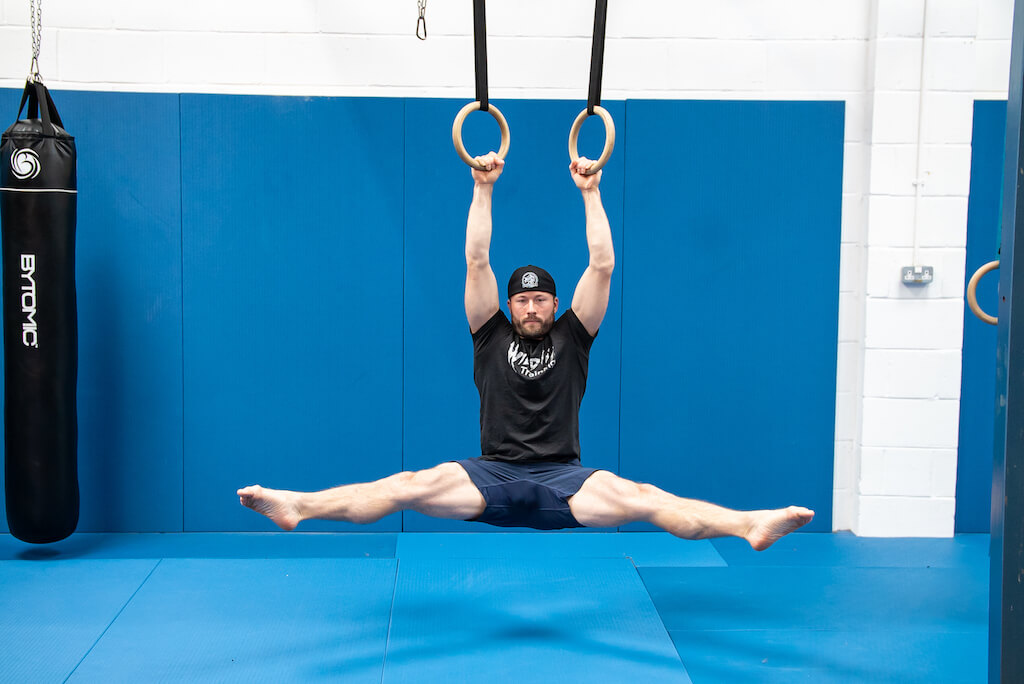
Our strength specialist James Griffiths explains how to ring the changes…
You have two choices with your strength training. Move other things, or move yourself. I have time for literally any type of training, but Olympic rings will always be near the top of the tree.
If you’re short on space and time, rings are one of the most versatile investments you can make. Apart from unlocking an array of new workout moves, they’ll add unpredictability to existing ones, forcing your often-neglected stabiliser muscles to work overtime to keep up and building your focus and coordination. Another benefit is that a lot of moves can put excess strain on the elbows, since your wrist wants to naturally rotate, but can’t – unless you use rings.
When it comes to learning how to move and using nothing but your own bodyweight to get stronger it’s hard to beat the versatility Olympic rings offer. Anyone can go up to a set of rings and hang on them – maybe even hit some L-sit pull-ups and some dips – but the problems come when you take your training past those simple exercises.
Muscle-ups, levers, the iron cross – all very cool exercises, and most of the targets people have when they come to me with their ambitions for their Olympic rings training. However, despite what YouTube tutorials might have you believing, they aren’t simple. Understanding some exercises that can bridge the gap between pull-ups and dips, and some of the hardest bodyweight exercises in the world, is an absolute must.
In this article I’m going to share with you four key movements on the Olympic rings that, if you train for decent volumes, will transform your strength and make some of those harder skills accessible. Once you graduate from the basics, you’ll be able to work on moves like the shoulder stand, front lever and muscle-up – the perfect riposte to anyone who asks what you bench, bro.
Master these Olympic rings exercises
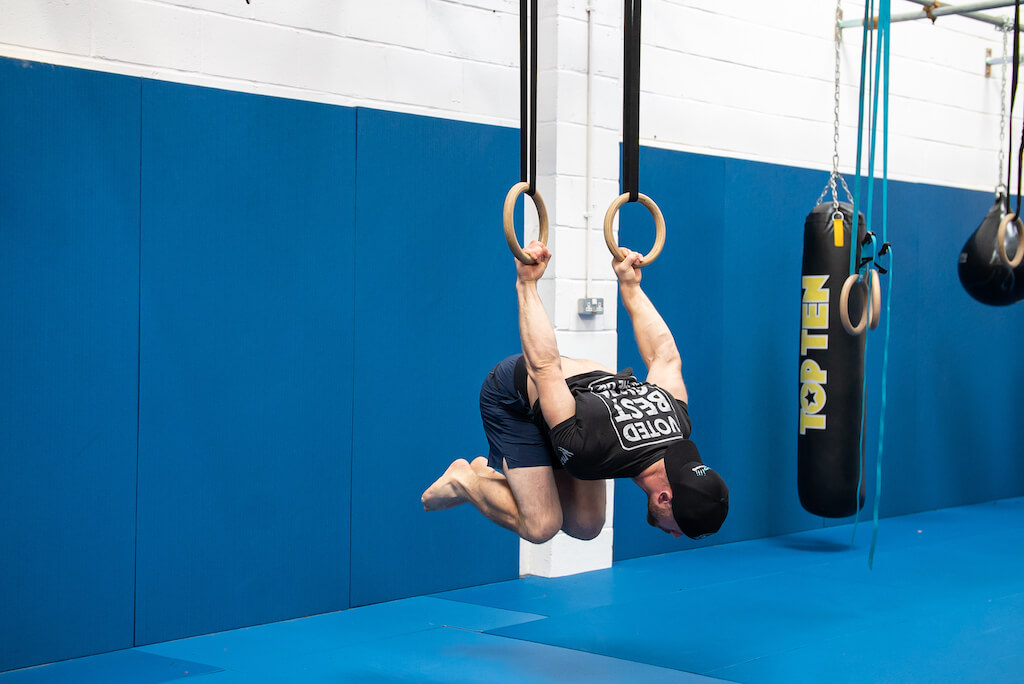
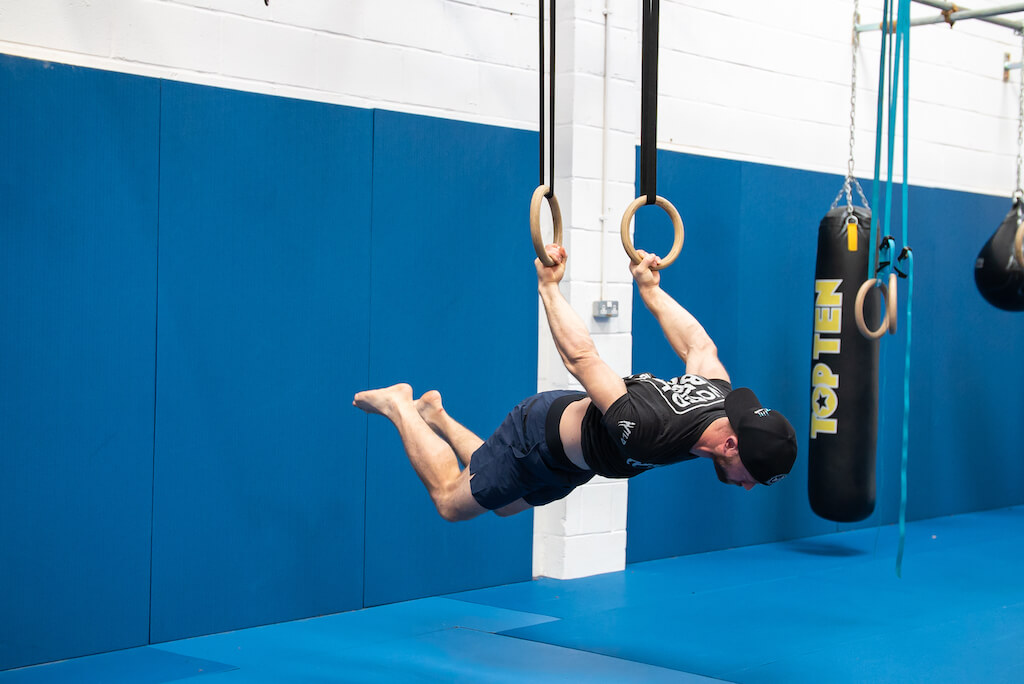
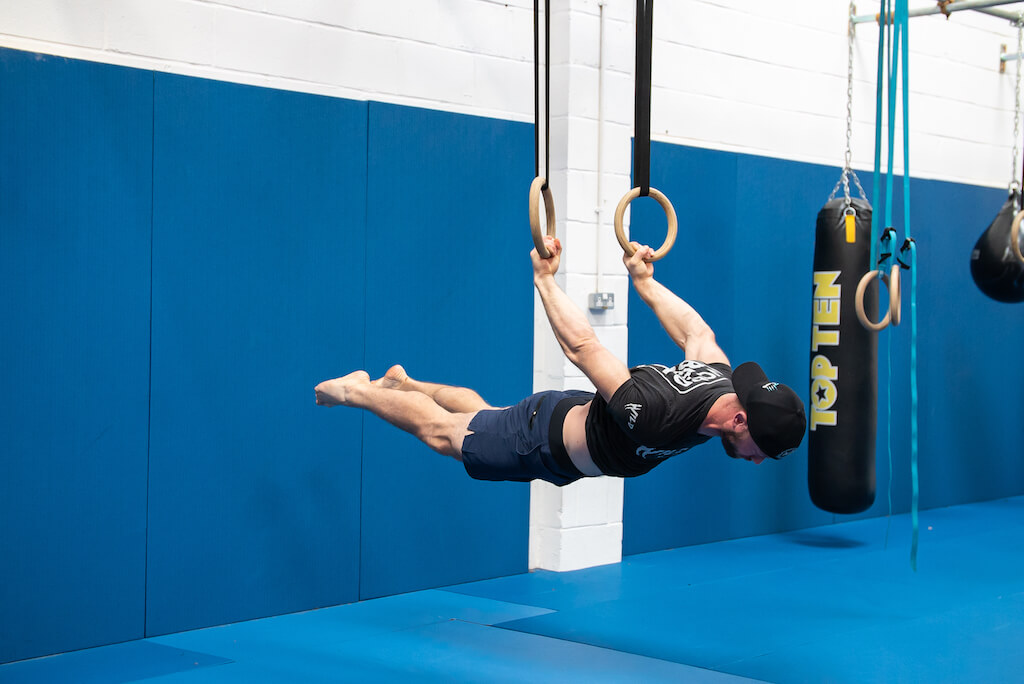
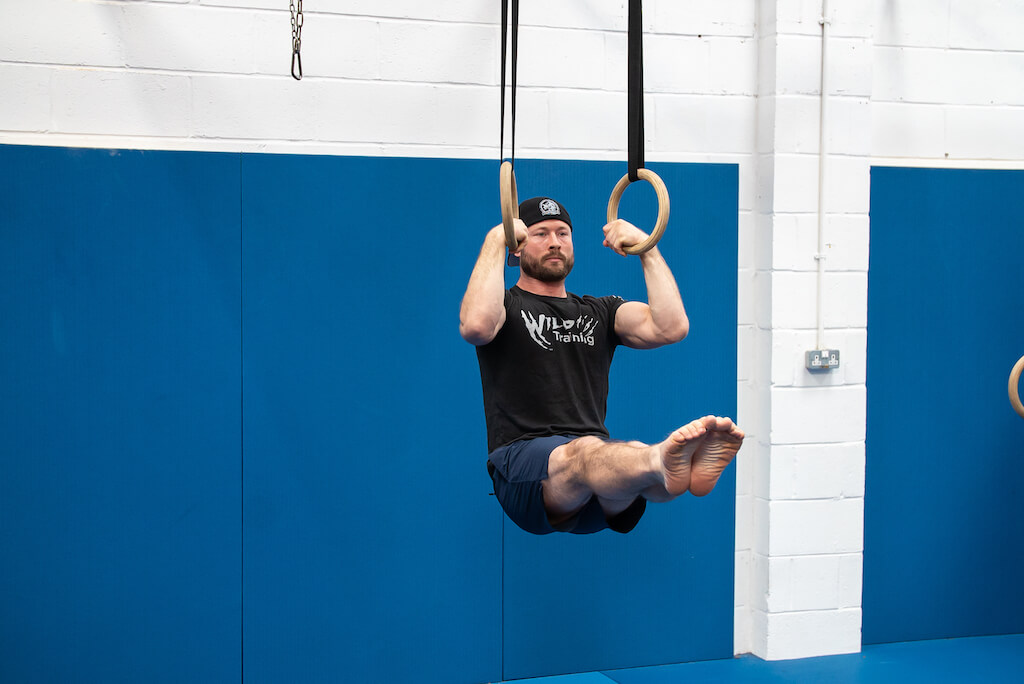
Back Lever Kick-Out
From an aesthetic point of view, back levers are massively underrated. They will help fill your chest and shoulders better than any front raises. One of the challenges here is to unlock your strength, while you are more than likely at the limit of your mobility. So warm up properly, do some good shoulder mobility, and easy-style it.
Start with slow, controlled tuck holds and tuck lifts out from the bottom of the position back to the invert. The kick drill is an amazing way of developing the strength for a full back lever, but maybe more importantly it will teach you how to breathe properly. If you can’t use your diaphragm properly, holding any of the harder positions will be a struggle, so this really is a key skill to nail.
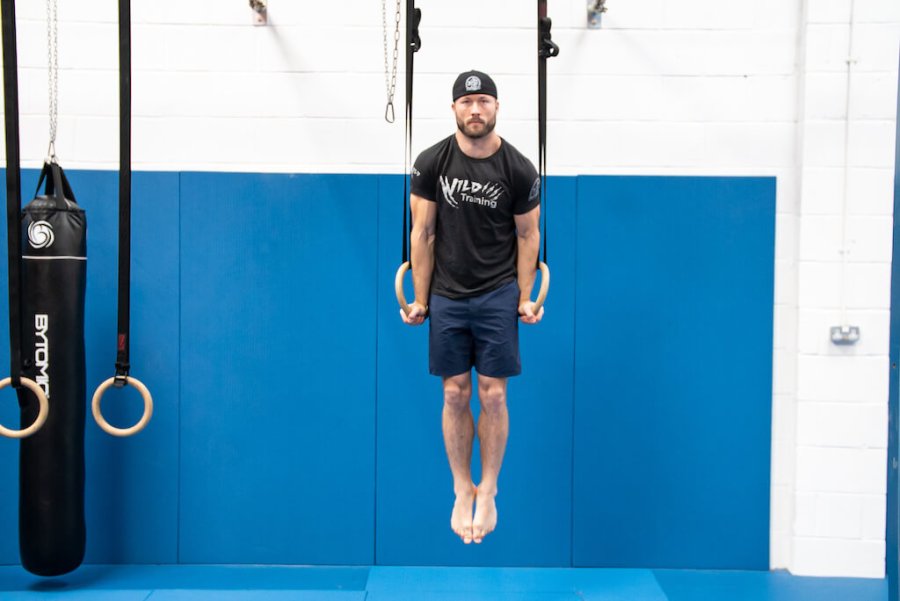
- Get inverted and tuck tight like a cannonball.
- Drop down the back to your end range of movement of your shoulders, so you lock your shoulders out. Having your palms facing behind you will be better for your shoulders but will take a lot more strength in your biceps.
- Use your chest to pull up to get your body horizontal. Look at the floor below you to work this out, or do it next to a mirror if possible. Filming it on your phone is also an option. Very rarely do people actually hold themselves flat, so check this.
- You want to breath out as you kick your legs out, and breath in before your knees get all the way back to your chest
- As you get stronger, hold the extended position for longer and longer.
- Ideally rather than just dropping to the floor, try and lift back around to the front to finish in a hanging L-sit.
Meat Hook Lift
Meat hooks opened my eyes to how your lats and obliques work together and I promise you, they will take your core strength to another level. They’re a great way to shape your torso and abs for people who feel like side planks aren’t really having much of an impact anymore.
You might not get them straight away, but keep practicing and I promise this will become one of your favourite movements.
- Start inverted.
- Lift your hips high so they are close to the rings.
- Drop both legs down so your quads brush past the straps.
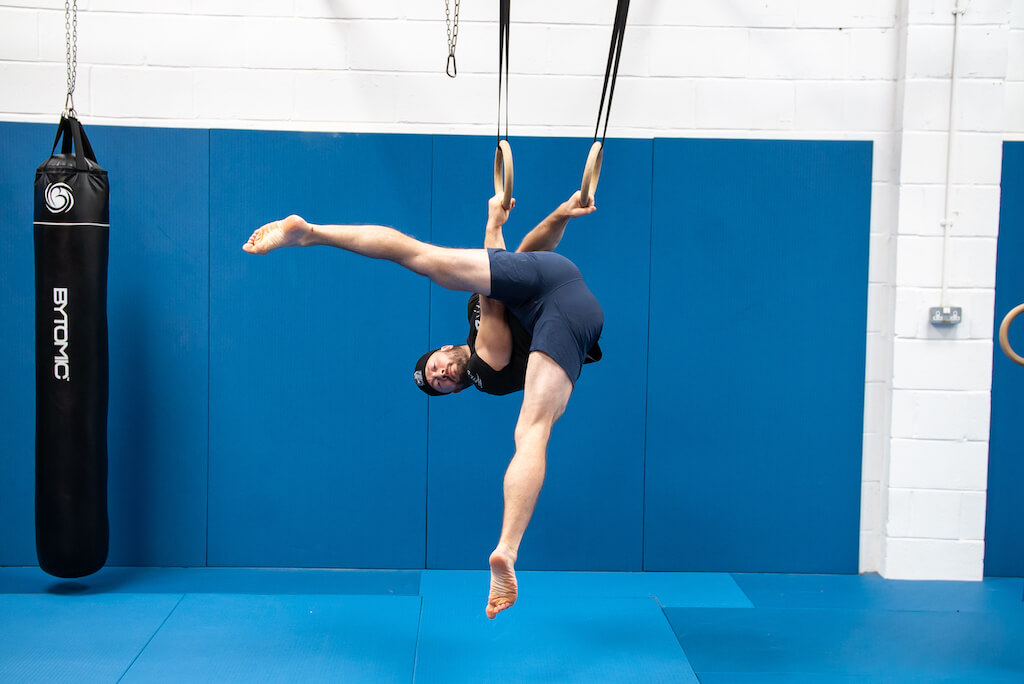
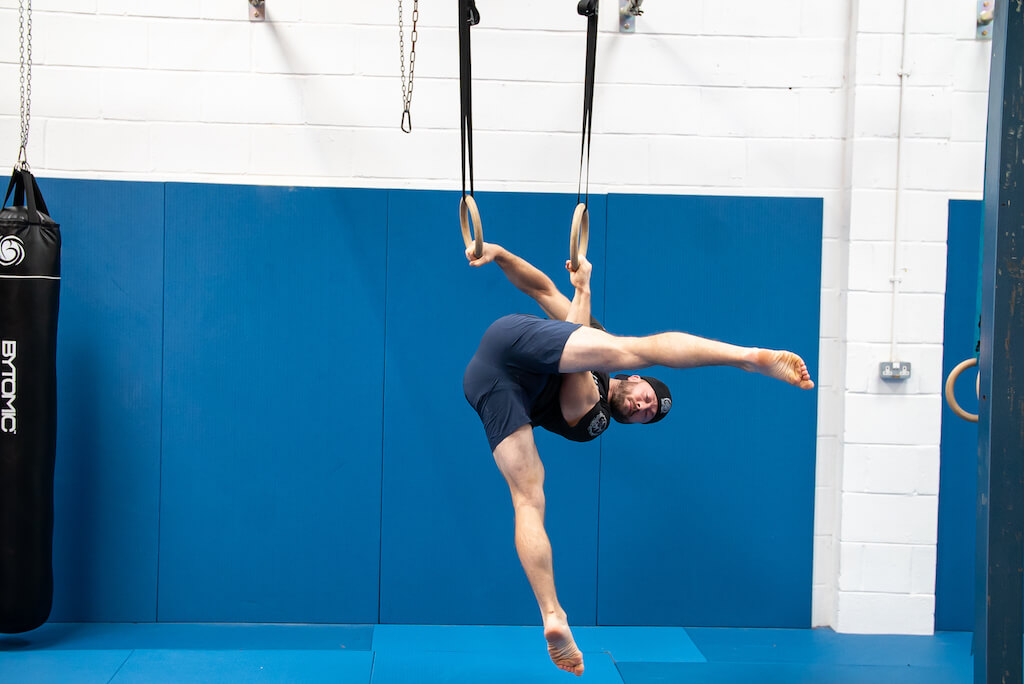
- As soon as your legs pass the straps, flex your hips so you get your thighs close to your chest to create a ‘hook’ shape.
- Aim to get your right forearm to connect with the crease of your left hip or vice versa.
- Lift back up to the inverted position and go to the other side.
False Grip L-Sit Pull-Up
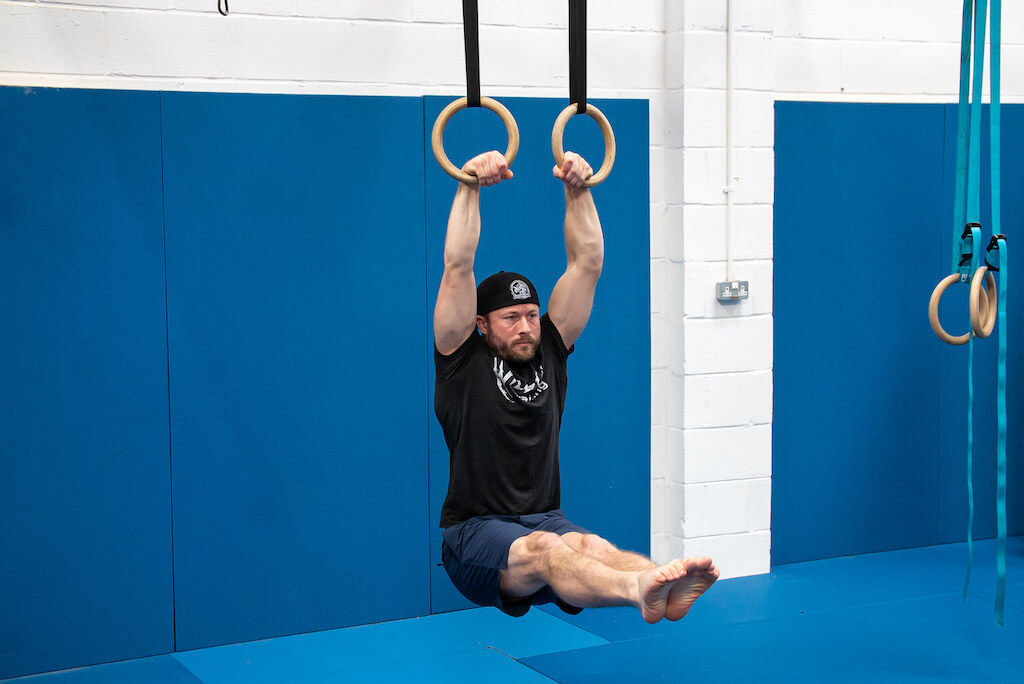
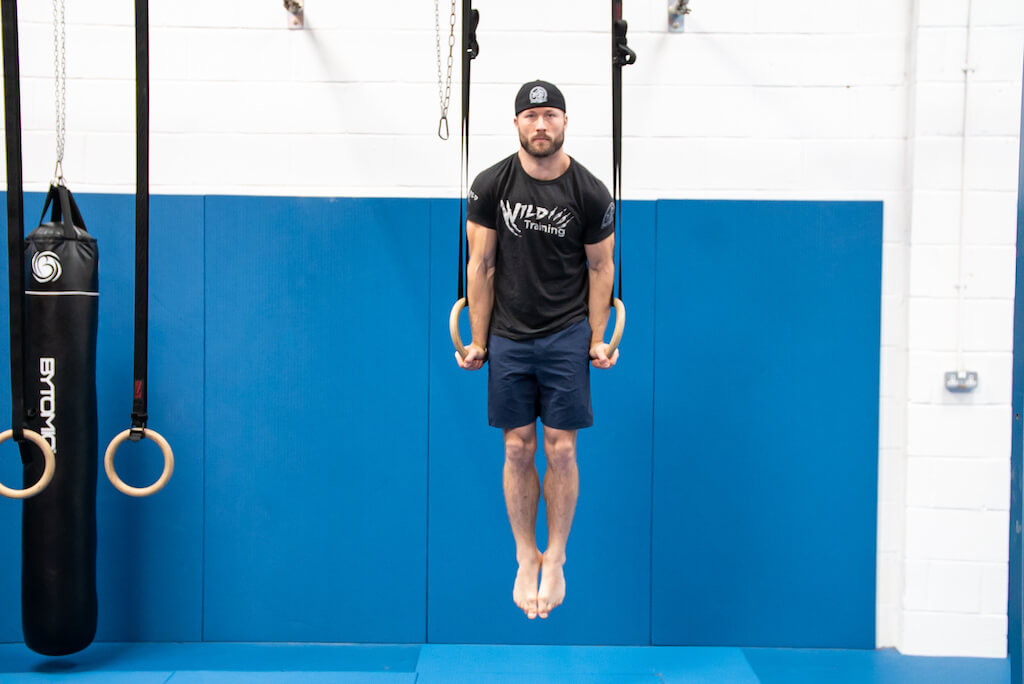
A muscle-up looks like a pull-up into a dip, so I see a lot of guys practising a lot of pull-ups and a lot of dips… and getting nowhere closer to a muscle-up. That’s because if they can do a pull-up and a dip, the problem is the transition, and to learn how to do the transition smoothly, you need a good false grip.
This strength on the inside of your forearm will transfer to lots of other activities, and if you train it smart, meaning little and often, it will help you avoid golfers elbow issues. Strength with a false grip is one thing, but we want to work towards explosive power, so hitting L-sit pull-ups with a false grip with some tempo behind them will open up beautiful muscle-ups before you know it.
- Place the ring in your hand like normal and then roll your hand through the ring as far as you can, like decelerating a motorbike.
- Make sure your forearms are vertical before you lift.
- Do not let your wrist angle get anywhere near 45 degrees. If it does, stop and reset.
- Start will smaller ranges of movement, as the false grip is much harder to maintain with straight arms
- Keep your legs out straight while you do your pull ups, but an obvious regression is to bend your knees.
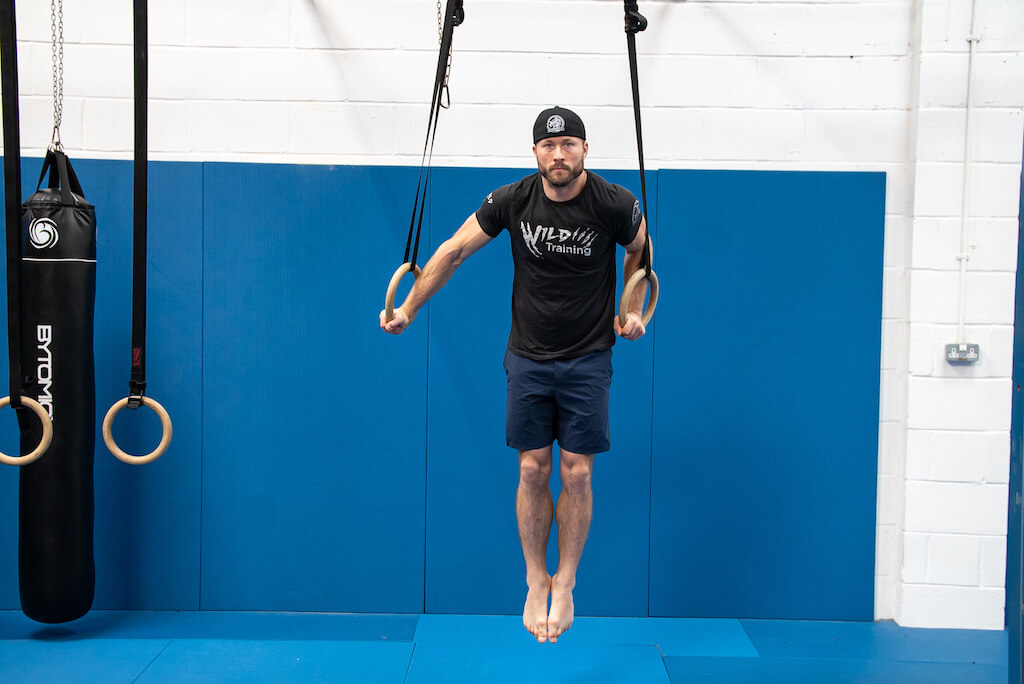
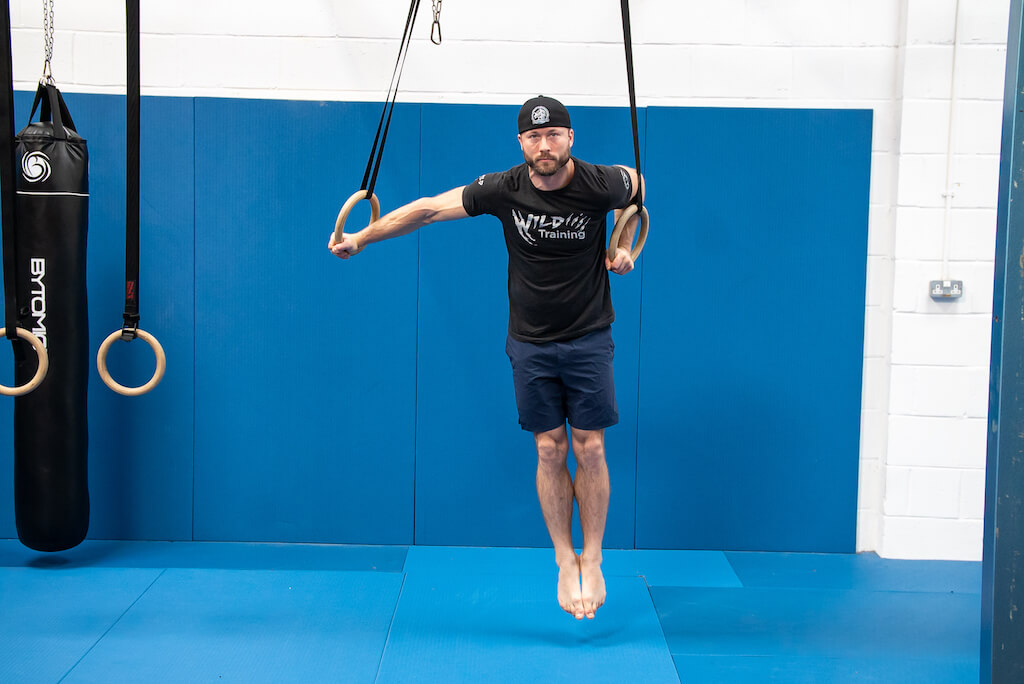
Archer Dip
Dips will never get you to an iron cross, because you need to learn straight-arm strength. Straight-arm strength is tough, so the archer dip is the perfect option. You perform a dip with one arm and a fly out to the side with the other arm. Don’t let your shoulder blades rotate forward, as that will increase the risk of hurting your shoulders. Start slow, with a small range of movement and build up the depth.
Again, this an amazing exercise to shape your chest and shoulders. Maintain a dish shape and keep your legs tight together throughout and you’ll be creating some great tension to tone your abs, too.
- Start in a support position with the arms locked out, tension in your legs and your body in a vertical line with the straps.
- Push one hand out to the side, keeping it straight. Use your lats and chest to keep your shoulder down and away from your ear.
- With the arm that does the dip, keep the elbow in tight to the side of your body, and again depress your shoulder girdle to keep your shoulder away from your ear.
- Breathe in on the way down, and breathe out on the way up.
- Your body will go to a slight angle as you drop to the bottom – this is normal. Just try to keep your legs together and maintain a straight line.

