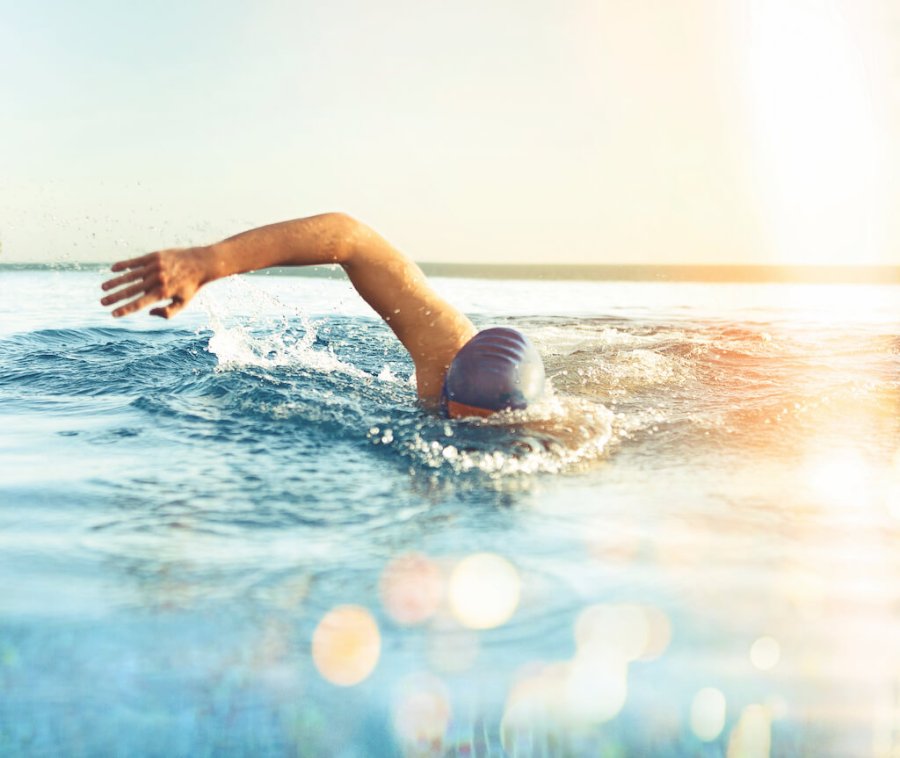
Sean Conway knows a thing or two about open-water swimming. The Zimbabwe-born, UK-based endurance athlete is the only person to have completed the swim from Land’s End to John o’ Groats.
Here, he answers some common questions on what to expect in open water.
What are the dangers of open-water swimming?
“Jumping straight in and just going for it is the dumbest thing you can do because a lot of the hazards in open-water swimming are hidden,” says Conway.
“What to be wary of depends on if you’re in the sea or a lake. If it’s the sea, the main dangers are sharp rocks, eddies, tides and rips that can drag you out to sea. Remember that currents that don’t seem strong at first can feel very powerful when you’re tired.
“Lakes have fewer hazards, but whenever you swim in open water, keep tabs on your hydration. At a pool you can stop and drink when you want, but in open water it takes longer to get back to shore.”
Read more articles on swimming
What else I should be careful of?
“Just because you can swim a kilometre in a pool doesn’t mean you’ll be able to do the same in open water,” says Conway.
“As well as currents and waves, your body will use energy just to keep warm. Do short swims at first so you don’t run into problems. And although there are no predators around the UK coast, there can be jellyfish.
“I grew a beard to stop getting stung in the face, but that was because I sometimes had no choice but to swim through them. As long as you have a wetsuit you’ll be fine.”
Do I need a special wetsuit for open-water swimming?
“Yes. Wetsuits for swimming – often sold as a triathlon wetsuits – are more flexible, particularly in the shoulders, and have a slick external layer to reduce drag.
“Thicker wetsuits will keep you warmer, but the extra buoyancy can elevate your legs so you end up kicking air, which means less power. Goggles and a cap are also a good idea .”
Will I have to adapt my swimming technique for open-water swimming?
“The essential principles of swimming are the same whether you’re in a pool or open water, but it can be easy to go off-course in the latter,” says Conway.
“To check where you’re going without slowing down, periodically look just above the water line as your leading arm enters it and begins pulling down.
“If you can see any tall objects on the horizon, pick one and use that to help you stay on course. Some people do this – called ‘sighting’ – every tenth stroke, some people every 20th. Do whatever works best for you.”
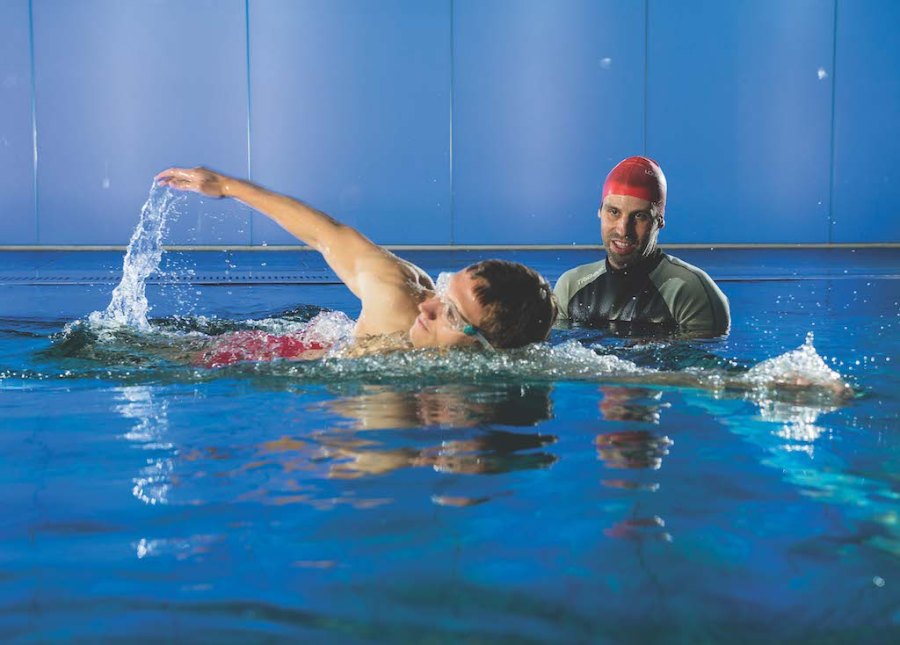
Sam Rider puts the Shaw Method into practice
Improve your open-water swimming with the Shaw Method
Whether you want to do laps of the pool or dive into a lake, you can improve your technique with some expert coaching, as Sam Rider finds out…
I can swim – in theory. I got all my swimming badges at school. But nowadays I can barely manage two lengths without slumping over the side, gasping for air.
Trouble is, I have only one mode: flat-out churn. Not ideal when you’re caught in a strong offshore current, as I was on holiday last year, before a fisherman plucked me to safety.
Others aren’t so lucky. The UK National Water Safety Forum found that men aged 20-34 were the most likely people to drown, possibly because of overconfidence in the water.
In a follow-up survey by swimming charity STA, 88% of men in this age range think they’re able to swim, yet 55% were found to lack critical water-safety skills, such as treading water for a minute and swimming for 25m.
Learning the Shaw Method
After my near miss on holiday, I vowed to seek proper tuition for front crawl. This led me to the Shaw Method, a form of swimming tuition that encourages greater body awareness, prevents strain and injury and improves your performance.
Other methods can also be effective, but at the cost of aching muscles and mental strain. The Shaw Method, developed in 1987 by former competitive swimmer Stephen Shaw, reduces muscular and mental tension and prioritises enjoyment for everyone from hydrophobes to veteran open-water swimmers.
I meet coach Rui Duarte of Love Swimming, a former pro swimmer, for my first session at London’s Dolphin Fitness Club. He first asks me to swim a couple of lengths while he films me above and below the water.
“Your body is too low and you don’t rotate enough in the water,” he says, while playing back video footage of me almost dragging my feet along the bottom.
“Your head’s too high and not aligned, your back’s arched. You’re fighting against the water, not swimming with it.”
I’m suddenly keenly aware that just four weeks might not be sufficient time to repair a lifetime of bad habits.
Front crawl basics
There are three stages to learning the front crawl. The first, body rotation, starts out of the water.
“The core of the stroke is your body, not the arms or legs. For long-distance swimming, 90% of your propulsion should come from your upper body. The legs are primarily for balance.
“You use your hips to rotate your body to one side and back to the centre with each stroke.”
We rehearse this rotation in front of mirrors beside the pool to visually reinforce the movement.
The second focuses on the arm action. Duarte talks about the ‘crouching tiger’ and ‘flying eagle’.
The tiger is the coiled, loading phase of the stroke, which helps you return to centre. The eagle is how your arm comes out of the water, long and straight, during every stroke. Gradually, Duarte is ironing out all the creases in my technique.
Two weeks in we finally get to breathing. “Don’t gulp for air,” says Duarte. “Don’t hold your breath. Allow the spreading of your chest as you bring your arm out of the water to open your lungs and draw air in.”
Alongside the one-on-one technique classes I’m doing group fitness sessions with Duarte’s other pupils. These involve switching between even-paced swims of 400m and fast ones of 50m, with short rests.
I can’t keep up with the others for more than 100m. While they glide on length after length, I need frequent timeouts to catch my breath.
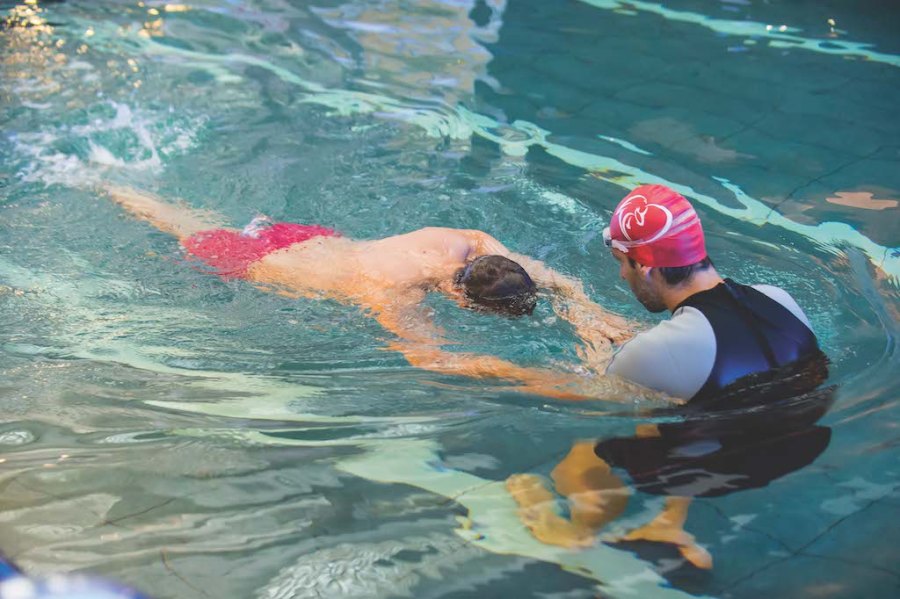
Learning proper body alignment
How to breathe while swimming
Towards the end of the second week, though, something clicks. I find a rhythm, I slow everything down, I gently kick rather than thrash.
At 300m, I realise I’m not out of breath. It feels like discovering a hidden talent I never knew I possessed.
Over the final two weeks I continue to put Duarte’s teachings into practice and get the hang of bilateral breathing (to each side, every three strokes) which keeps you balanced. I start to relish the group sessions, knowing the good they’re doing my fitness levels.
The Shaw Method has certainly helped me improve technically and rediscover my confidence in the water. The next challenge is to leave the relative comfort of the pool and get outdoors, with a triathlon now in my sights.
All that’s left is to find a good running and cycling coach.
Fundamentals of the Shaw Method for swimming
1. Body alignment
The head, neck and back need to be long, aligned and relaxed so muscle tension doesn’t build up.
2. Smart swimming
Save energy by letting the water do some of the work. During a kick, push down but let the water help you push up.
3. Passive breathing
Try to breathe steadily and calmly. Duarte recommends turning to breathe every third stroke.
4. Enjoyment
It’s important you enjoy the learning process. You’ll reach your goals faster and relish time spent in the pool.
For more, visit artofswimming.com

